In the mobile development world can be useful have an Android emulator ready for test and debug your APKs, but not always we want to install Android Studio in order to achieve it.
Today I want to share with you how I was able to setup a new brand virtual device without Android Studio.
- Android SDK
- Java 8 JDK
- Windows 10/11
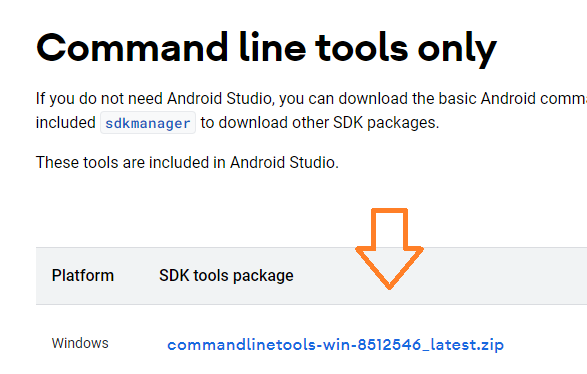
- Download the Android command line tools in this page (Download options -> Command line tools only)

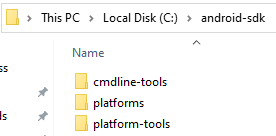
- Create new folder, e.g. C:\android-sdk
- Create new folders cmdline-tools, platforms and platform-tools inside android-sdk
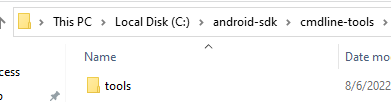
- Create new folder tools inside cmdline-tools
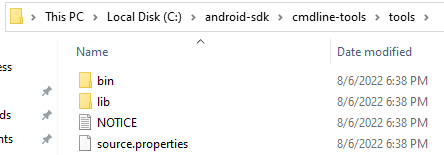
- Open the zip downloaded and extract the folders bin, lib and the files NOTICE, source.properties inside C:\android-sdk\cmdline-tools\tools
- Download and install the
- Open the windows terminal as admin and type
cd C:\android-sdk\cmdline-tools\tools\bin
- You can now check the list of all packages using
sdkmanager --list
- I will use system-images;android-33;google_apis;x86_64 (there are also images with the Google Play Store)
- Use this command in order to download the system image
sdkmanager --install system-images;android-33;google_apis;x86_64
- Accept all the licenses
- Install the platform-tools using
sdkmanager "platform-tools" "platforms;android-33"
- In the Windows terminal use this command to create a new AVD device
avdmanager create avd --name android33 --package "system-images;android-33;google_apis;x86_64"
- At this point if you receive errors you can try to enable the Virtualization Technology option in your BIOS (SVM Mode if you have AMD cpu) and install the
- Will be asked if you want to create a custom hardware profile, just press enter
- In the Windows terminal navigate to
cd C:\android-sdk\emulator
- To open the emulator type (in the -m parameter you can give a custom amount of RAM size)
emulator –avd android33 -qemu -m 3000
- At this point if you receive errors you should try to enable the Virtualization Technology option in your BIOS (SVM Mode if you have AMD cpu) and install the
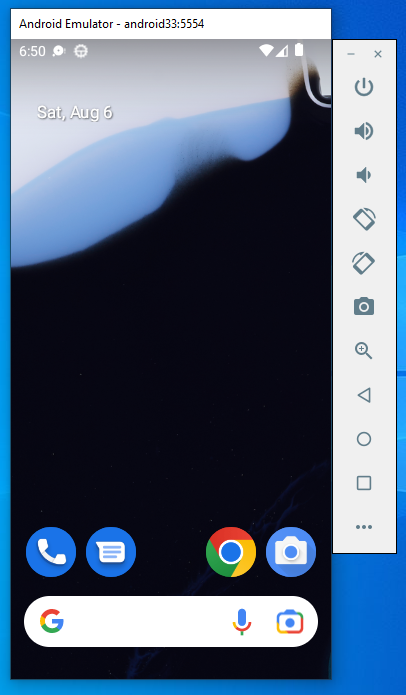
- The first startup will take some time, when done you should see this
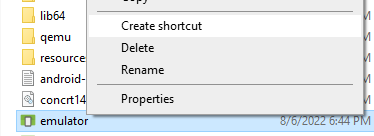
- In the File explorer go inside C:\android-sdk\emulator
- Right click on emulator.exe -> Create shortcut
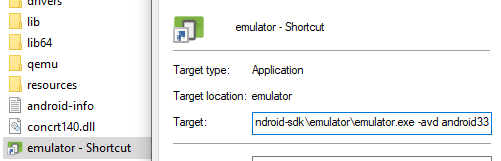
- Then right click on the shortcut created -> Properties
- In the target type (in the -m parameter you can give a custom amount of RAM size)
C:\android-sdk\emulator\emulator.exe –avd android33 -qemu -m 3000
- Save and right click again -> Pin to taskbar
- At this point the emulator icon is ready to be opened in the Windows taskbar
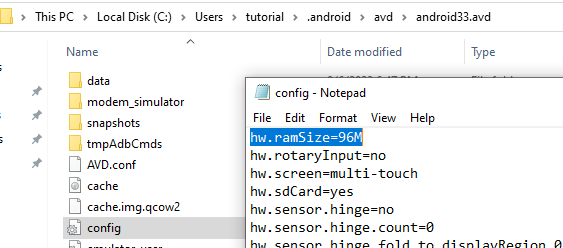
- Eventually you edit the Emulator proprieties by editing the config file in
C:\Users\yourUser\android\avd\android33.avd
(I suggest to change hw.camera.back=virtualscene, hw.keyboard = yes and disk.dataPartition.size=1800M)
- For install a new APK just drag and drop the file inside the emulator
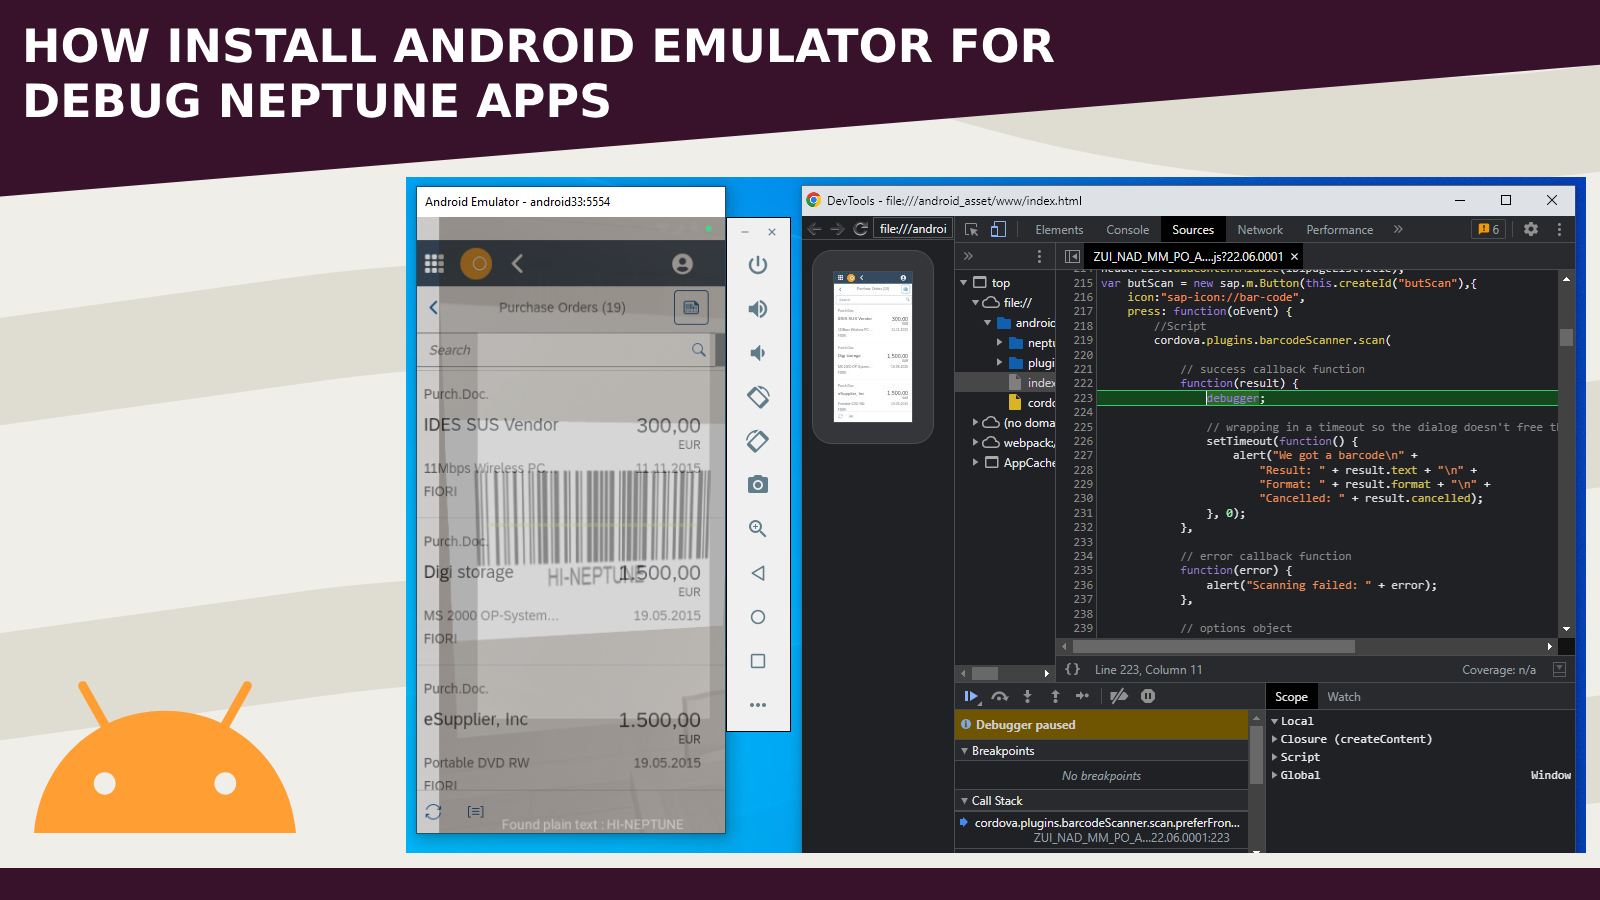
- You can debug your own Neptune application using the chrome://inspect
Happy debugging!