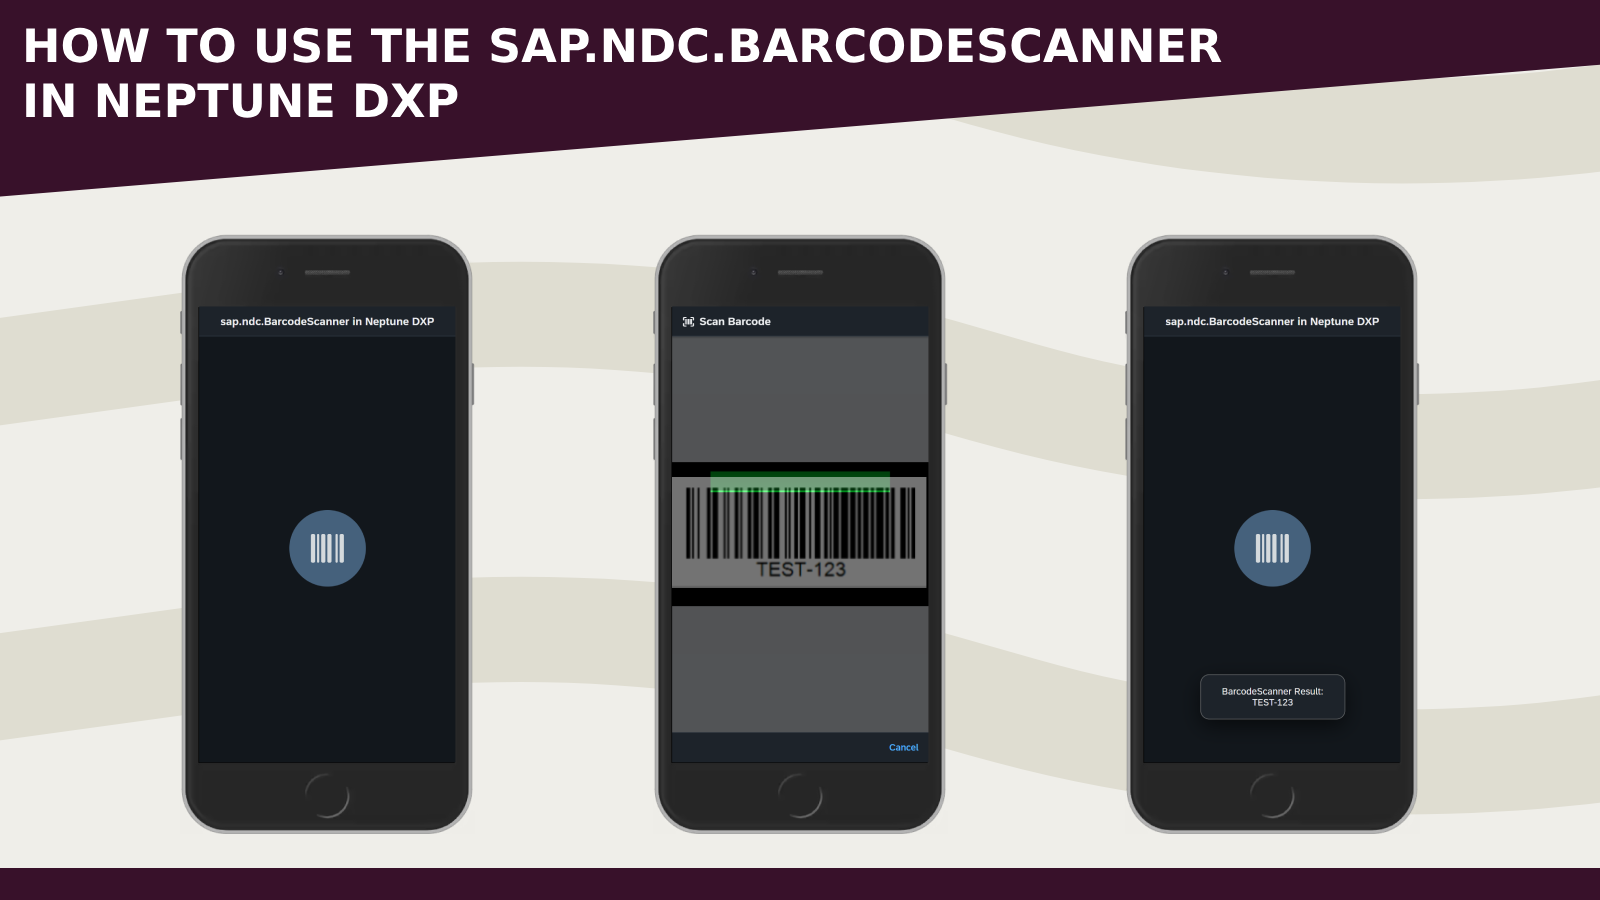
In SAPUI5 we have the sap.ndc.BarcodeScanner control that enables us to scan barcodes from a selected image or the device camera.
Today I want to share a basic example on how to use it in Neptune DXP.
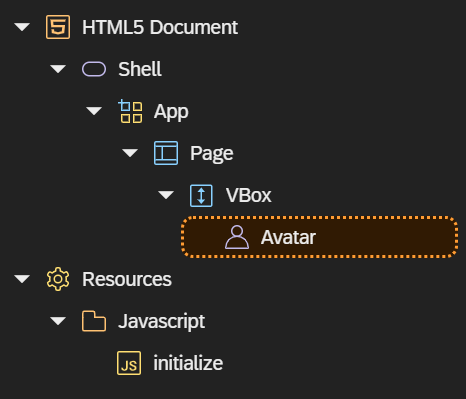
- Create a new application, the App Designer structure will be like this
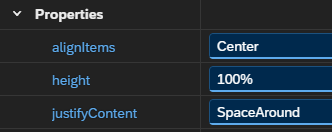
- In a page add a sap.m.VBox with this properties
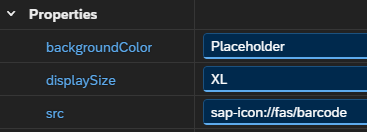
- Inside the VBox element add a sap.m.Avatar and set this properties
- In the initialize script use the following code to load the control
neptune.Shell.attachInit(function(data, navObj) {
    // load the sap.ndc.BarcodeScanner control
    sap.ui.require(["sap/ndc/BarcodeScanner"]);
});
- In the Avatar press event call the scan method
sap.ndc.BarcodeScanner.scan(
    function(result) {
        // process scan result
        sap.m.MessageToast.show("BarcodeScanner Result: " + result.text);
    },
    function(err) {
        // handle scan error
        console.log("BarcodeScanner Error: " + err);
    },
    function(result) {
        // handle input dialog change
        console.log("Input dialog change: " + result);
    }
);
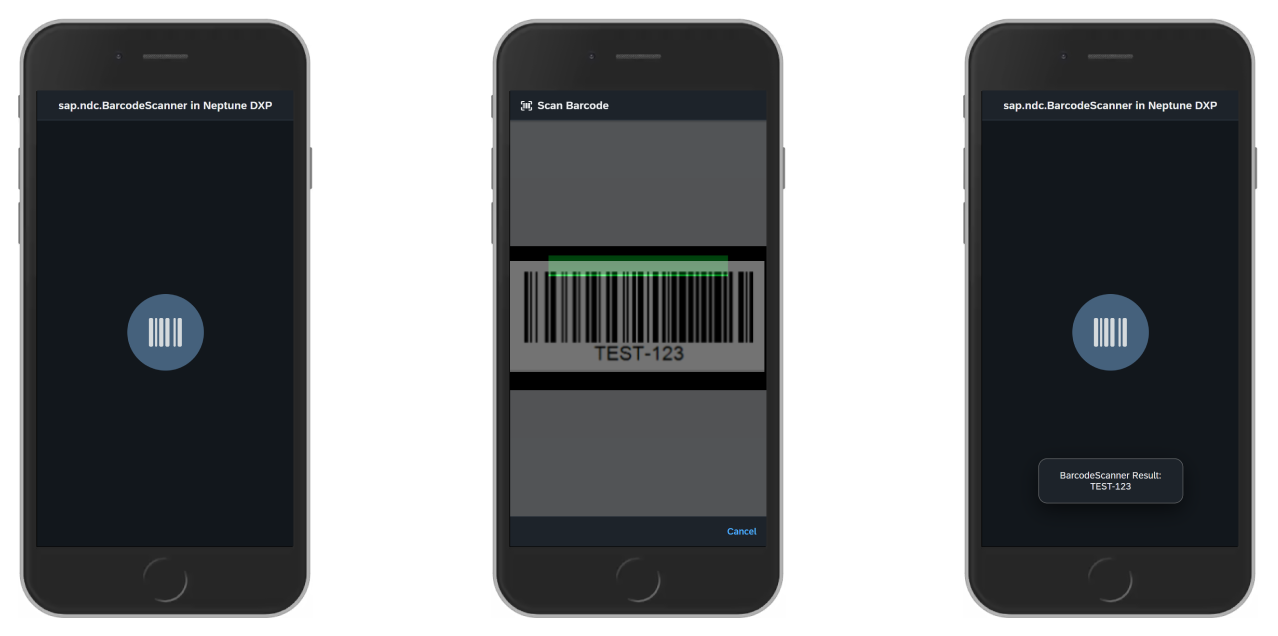
In the initialize script the sap.ndc.BarcodeScanner control is loaded.
When the user clicks on the Avatar element the device camera is opened and ready to scan.
- The code can be improved and readapted for specific scenarios
- The scan method returns other barcode informations like the format
- Other methods can be used checking the API Reference
Hope this helps
Happy scanning!