In the Planning Calendar element we can enable the Drag and Drop functionality to move appointments between rows and columns.
It can be done using the enableAppointmentsDragAndDrop property (PlanningCalendarRow).
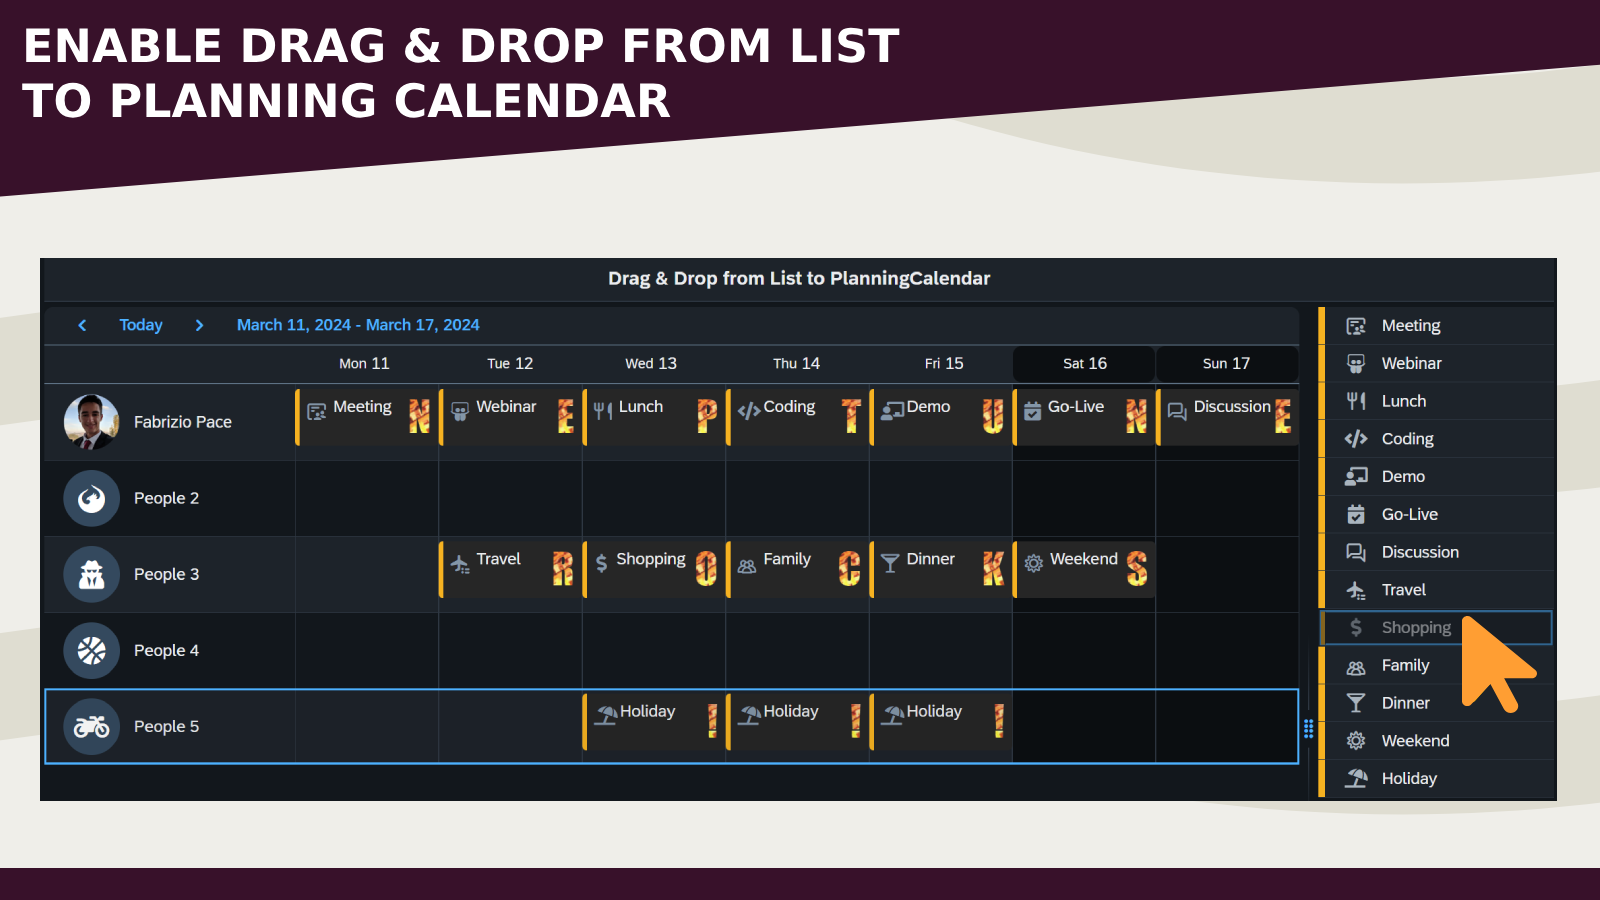
Today I want to share instead how to enable the Drag and Drop from List to Planning Calendar in order to create new appointments.
- Open the Header section and paste the following code to include the moment.js library in our application
<script src="https://cdnjs.cloudflare.com/ajax/libs/moment.js/2.30.1/moment.min.js">
</script>
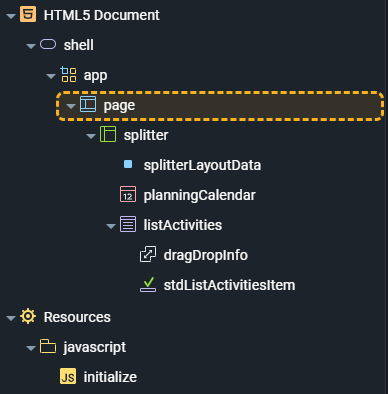
- In my example I created a new sap.ui.layout.Splitter element inside the Page
- In the Splitter element add the following elements: sap.ui.layout.SplitterLayoutData, sap.m.PlanningCalendar and sap.m.List

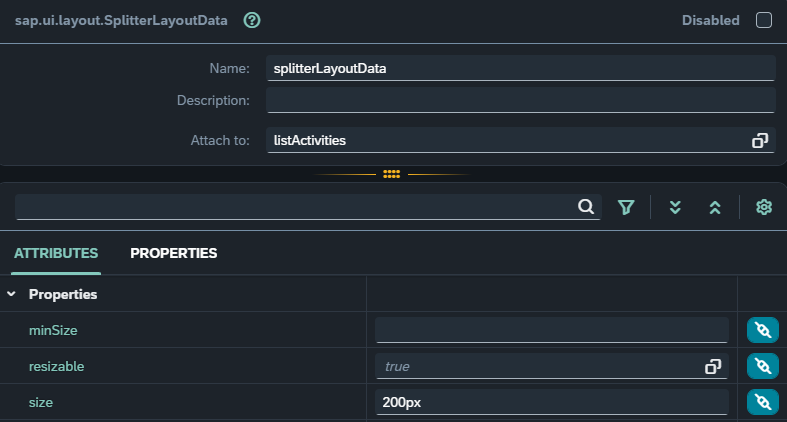
- Select now the SplitterLayoutData element and assign the Attach to field to the List, then set 200px to the size property
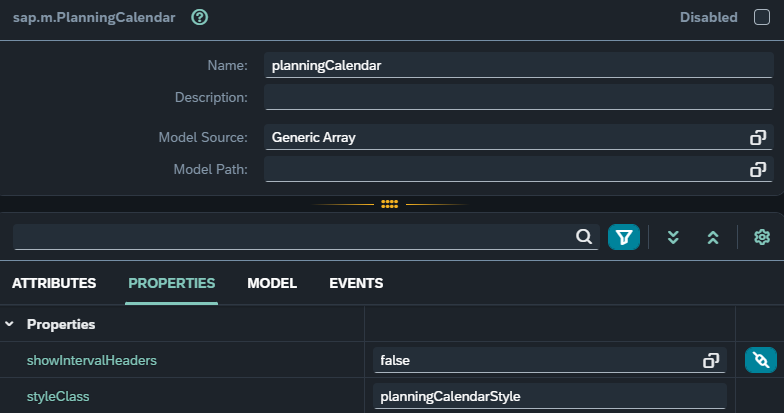
- Open the PlanningCalendar properties, set the Model Source as Generic Array, assign showIntervalHeaders to false and create a new styleClass (planningCalendarStyle)
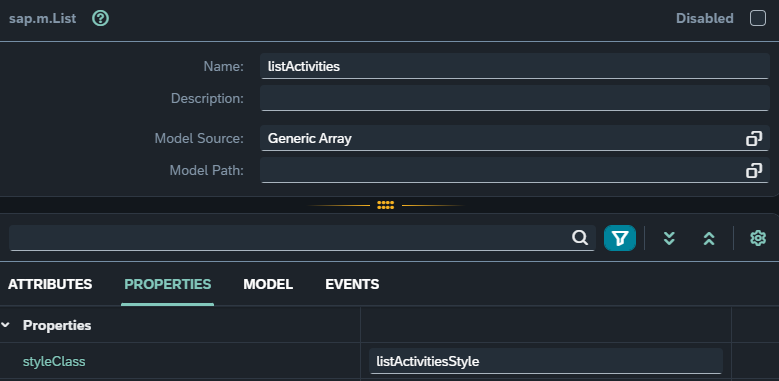
- Select the List element, set also here the Model Source as Generic Array and create a new styleClass (listActivitiesStyle)
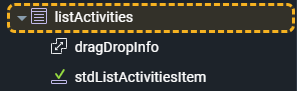
- Inside the List add the following elements: sap.ui.core.dnd.DragDropInfo and sap.m.StandardListItem
- The App Designer structure should be like that
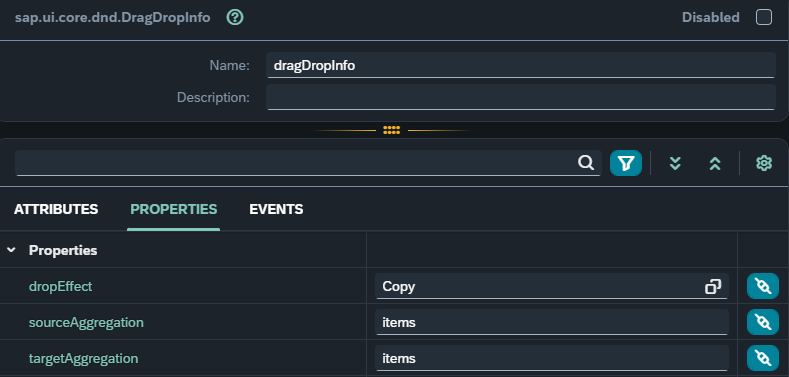
- Open the DragDropInfo properties and set the dropEffect to Copy, sourceAggregation and targetAggregation to items
- In the drop event use the following code
// get source row data
let sourceData = oEvent.getParameter("draggedControl").getBindingContext().getObject();

// get target object (planning calendar table items)
let targetObj = oEvent.getParameter("droppedControl");

let calendarRow = "";
let rowStartDate = "";
let browserEvent = oEvent.mParameters.browserEvent;

// get from browser event the div html target element (interval)
let browserTarget = "";
let intervalNumber = "";
if (browserEvent.target) {
    browserTarget = browserEvent.target;
    if (browserTarget.id) {
        // each div id contains CalRow-AppsInt + index
        if (browserTarget.id.indexOf("CalRow-AppsInt") !== -1) {
             intervalNumber = browserTarget.id.split("CalRow-AppsInt")[1];
        }
    }
}

// get the calendar row start date
if (targetObj.getAggregation("cells").length > 1) {
    calendarRow = targetObj.getAggregation("cells")[1];
    if (calendarRow) {
        rowStartDate = calendarRow.getStartDate();
    }
}

// sum to the calendar row start date the interval number required
if (intervalNumber && calendarRow && rowStartDate) {
    let appointmentDate = moment(rowStartDate)
      .add(intervalNumber, "days")
      .format("YYYY-MM-DD");

    let calendarRowObj = targetObj.sId
        ? sap.ui.getCore().byId(targetObj.sId.replace("-CLI", ""))
        : null;

    if (calendarRowObj) {
        let indexOfRow = planningCalendar.indexOfRow(calendarRowObj);
        if (indexOfRow !== "") {
            let dataPlanningCalendar = modelplanningCalendar.getData();
            if (dataPlanningCalendar.people[indexOfRow]) {
                 dataPlanningCalendar.people[indexOfRow].appointments.push({
                     icon: sourceData.icon,
                     startDate: new Date(appointmentDate + "T00:00:00"),
                     endDate: new Date(appointmentDate + "T23:59:59"),
                     title: sourceData.title,
                     description: sourceData.description,
                });
            }
             modelplanningCalendar.setData(dataPlanningCalendar);
        }
    }
}
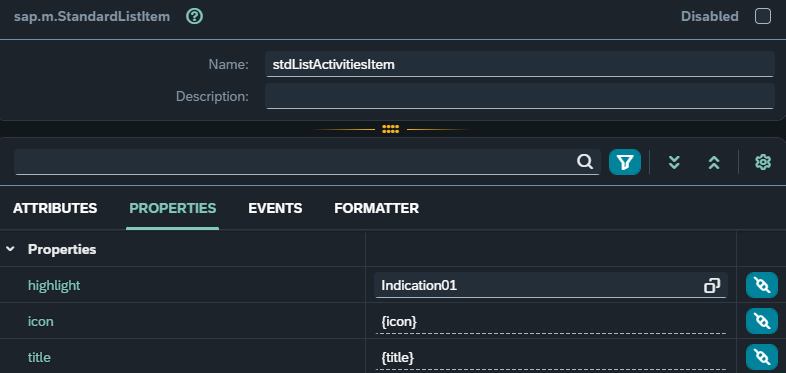
- Select now the StandardListItem element, assign highlight to Indication01 and bind the icon and title properties
- In the initialize Script use the following JavaScript code
try {
     sap.ui.getCore().attachInit(function (startParams) {
        // set the dragDropInfo target element
        dragDropInfo.setTargetElement(planningCalendar.sId + "-Table");

        // populate the planning calendar
        modelplanningCalendar.setData({
            people: [
                {
                     icon: "https://fabriziopace.dev/images/profilepicture.webp",
                     title: "Fabrizio Pace",
                     appointments: [],
                },
                {
                     icon: "sap-icon://sap-ui5",
                     title: "People 2",
                     appointments: [],
                },
                {
                     icon: "sap-icon://fa-solid/user-secret",
                    title: "People 3",
                     appointments: [],
                },
                {
                     icon: "sap-icon://fa-solid/basketball-ball",
                     title: "People 4",
                     appointments: [],
                },
                {
                     icon: "sap-icon://fa-solid/motorcycle",
                     title: "People 5",
                     appointments: [],
                },
            ],
        });

        // create planning calendar row template
        // and bind appointments aggregation
        let planningCalendarRowTemplate = new sap.m.PlanningCalendarRow({
            title: "{title}",
            icon: "{icon}",
         }).bindAggregation("appointments", {
            path: "appointments",
            template: new sap.ui.unified.CalendarAppointment({
                 startDate: "{startDate}",
                 endDate: "{endDate}",
                title: "{title}",
                 description: "{description}",
                icon: "{icon}",
            }),
            templateShareable: false,
        });

        // bind rows aggregation
         planningCalendar.bindAggregation("rows", {
            path: "/people",
            template: planningCalendarRowTemplate,
            templateShareable: false,
        });

        // add calendar view (days)
         planningCalendar.addView(
            new sap.m.PlanningCalendarView({
                key: "D",
                 intervalType: "Day",
                 description: "days view",
                 intervalsS: 1,
                 intervalsM: 3,
                 intervalsL: 7,
            })
        );
         planningCalendar.setViewKey("D");

        // populate the list
         modellistActivities.setData([
            {
                title: "Meeting",
                description: "N",
                icon: "sap-icon://meeting-room",
            },
            {
                title: "Webinar",
                description: "E",
                icon: "sap-icon://fa-brands/slideshare",
            },
            {
                title: "Lunch",
                description: "P",
                icon: "sap-icon://meal",
            },
            {
                title: "Coding",
                description: "T",
                icon: "sap-icon://fa-solid/code",
            },
            {
                title: "Demo",
                description: "U",
                icon: "sap-icon://fa-solid/chalkboard-teacher",
            },
            {
                title: "Go-Live",
                description: "N",
                icon: "sap-icon://fa-solid/calendar-check",
            },
            {
                title: "Discussion",
                description: "E",
                icon: "sap-icon://discussion",
            },
            {
                title: "Travel",
                description: "R",
                icon: "sap-icon://travel-itinerary",
            },
            {
                title: "Shopping",
                description: "O",
                icon: "sap-icon://fa-solid/dollar-sign",
            },
            {
                title: "Family",
                description: "C",
                icon: "sap-icon://family-care",
            },
            {
                title: "Dinner",
                description: "K",
                icon: "sap-icon://fa-solid/glass-martini-alt",
            },
            {
                title: "Weekend",
                description: "S",
                icon: "sap-icon://fa-regular/sun",
            },
            {
                title: "Holiday",
                description: "!",
                icon: "sap-icon://fa-solid/umbrella-beach",
            },
        ]);
    });
} catch (err) {
    console.log(err);
}
In addition I used some CSS code in the app, this step is not required but feel free to use if you want:
- added two animations (fade-in and slide-right) when the appointments are rendered in the Planning Calendar;
- in appointments description text (Neptune Rocks!) I used the Tokyo Tower photo taken by me on my first trip in Japan :)
@keyframes appointmentFadeIn {
    0% {
        opacity: 0;
    }
    100% {
        opacity: 1;
    }
}
@keyframes descrSlideRight {
    0% {
        width: 0%;
    }
    100% {
        width: 100%;
    }
}
.planningCalendarStyle.sapMPlanCal .sapMListTbl
.sapMSLIImgIcon.sapUiIcon:not(.sapMLIBImgNav):not(.sapMBtnIcon) {
    font-size: 1.5rem;
    border-radius: 100%;
    color: white;
    background: #34495e;
}
.planningCalendarStyle .sapUiCalendarApp {
    background-color: rgba(38 38 38);
    border-left-color: #f6b221;
    opacity: 0;
    animation: 1s 1 forwards appointmentFadeIn;
}
.planningCalendarStyle .sapUiCalendarAppDescription {
    font-size: 36px;
    font-family: fantasy;
    text-align: right;
     -webkit-background-clip: text;
     -webkit-text-fill-color: transparent;
     background-position: 375px;
    background-image: url(https://fabriziopace.dev/images/tokyotower.jpg);
    position: absolute;
    top: 0;
    right: 0;
}
.planningCalendarStyle .sapUiCalendarRowApps .sapUiCalendarApp .sapUiCalendarAppCont {
    width: 0%;
    animation: 1s 1 forwards descrSlideRight;
    border-color: transparent;
}
.listActivitiesStyle .sapMLIBHighlight {
    background-color: #f6b221;
}
In the initialize script we set the dragDropInfo target element and populate the List and the Planning Calendar with some example data, then in the drop event we create a new appointment based on the dragged and dropped controls informations.
Here we can see the result:
- The JavaScript / CSS code can be improved and readapted for specific scenarios
- Tables can be created in Planet 9 to save the changes done in the Planning Calendar
Hope this helps
Happy coding!