In the Neptune DXP platform it’s possible to give dynamic informations to the user by creating for example a NumericContent tile. We are also able to run a custom application in card with the Live application type.
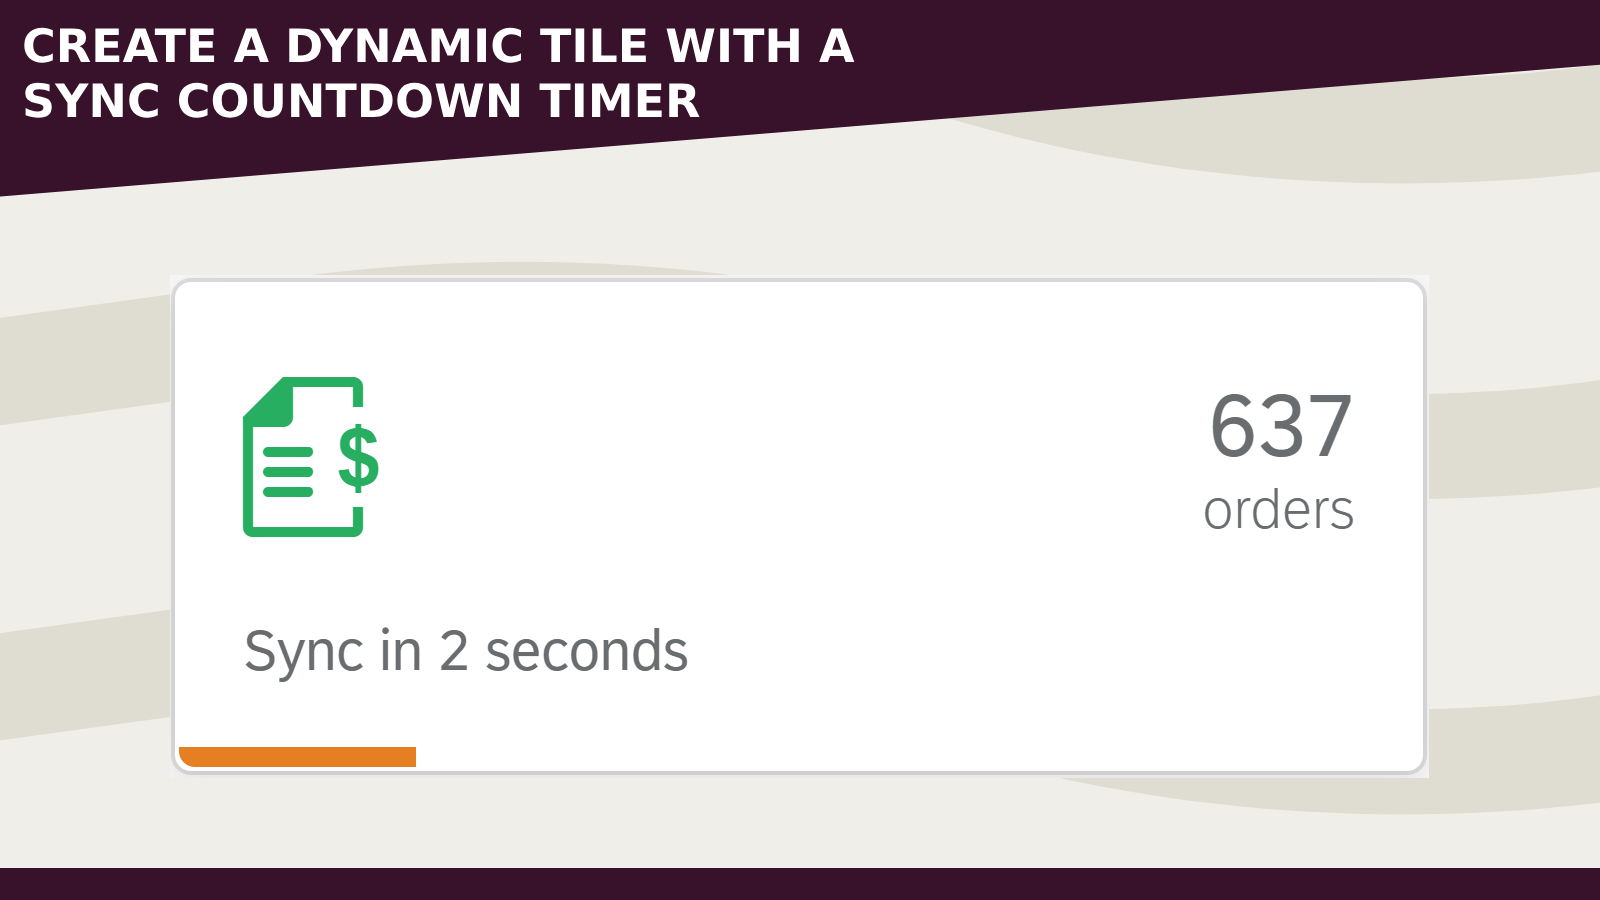
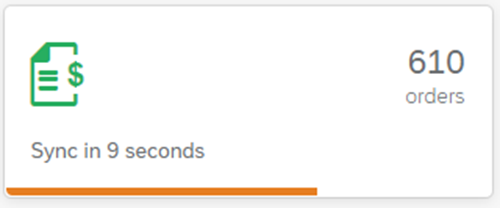
Today I want to share how I created a custom tile showing the actual number of Purchase Orders, the time remaining for the next sync with the relative progress bar.
- Open the App Designer and create a new application
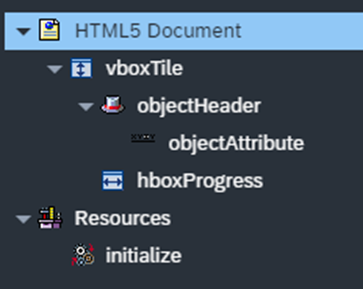
- Inside the HTML5 Document element insert the following elements: sap.m.VBox > sap.m.ObjectHeader > sap.m.ObjectAttribute
- Inside the sap.m.ObjectHeader insert a new sap.m.HBox
- In the Resource element create a new Script (initialize)
- Select the sap.m.ObjectHeader and set the icon and numberUnit properties (in my case sap-icon://sales-quote and orders)
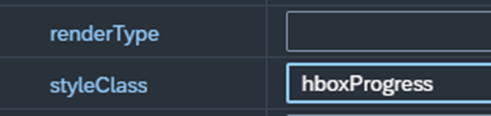
- Assign a css styleClass
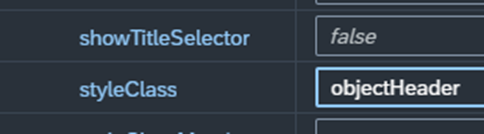
- Select now the sap.m.HBox element and also here assign the styleClass
- In the initialize Script use the following JavaScript code
sap.ui.getCore().attachInit(function (data, navObj) {
  let intervalSeconds = 15; // seconds
  let countdownCounter = intervalSeconds;

  // test data
  let tileCounter = 593; // tile number
  objectHeader.setNumber(tileCounter);

  // countdown interval (each second)
  setInterval(function () {
    objectAttribute.setText("Sync in " + countdownCounter + " seconds");
    $(".hboxProgress").css(
      "width",
      (countdownCounter * 100) / intervalSeconds + "%"
    );

    // when reach 0 reset the countdown
    if (countdownCounter === 0) {
      tileCounter++;
      objectHeader.setNumber(tileCounter);
      countdownCounter = intervalSeconds;
    } else {
      countdownCounter--;
    }
  }, 1000);
});
- Open now the Stylesheet section and paste the following css
.objectHeader .sapMOH {
    padding: 1rem;
}
.objectHeader .sapUiIcon {
    color: #27ae60;
}
.hboxProgress {
    background: #e67e22;
    height: 5px;
    transition: 1s width;
    width: 100%;
}
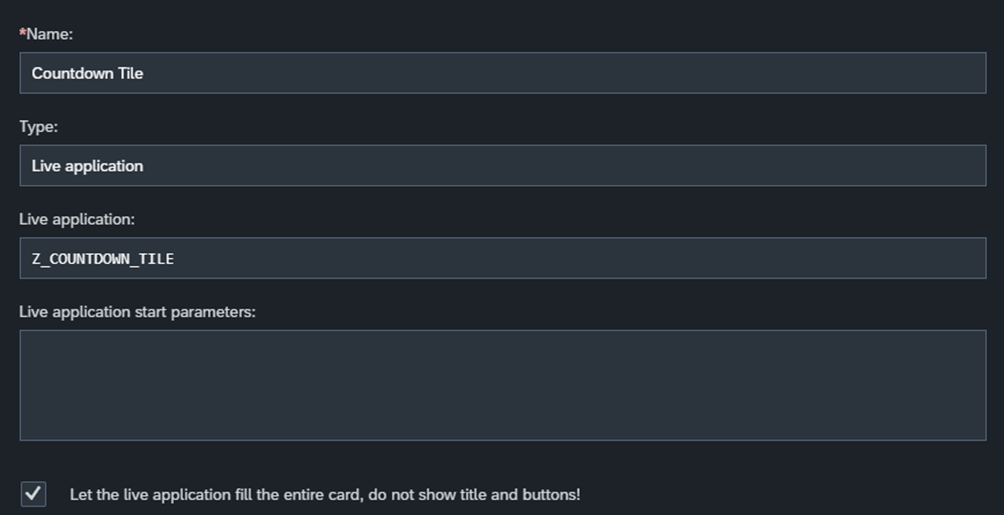
- Open the Neptune Cockpit and go to the Tile section
- Create a new tile with the following properties
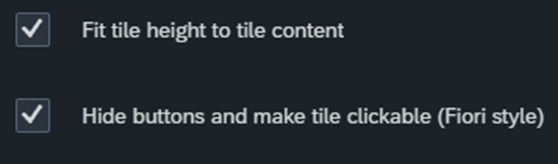
- In the layout section you can set those flags
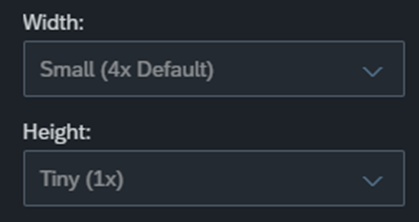
- And the Tile Size
- You can now assign the tile to a tilegroup and use it on your own launchpad
Here a GIF:
Open GIF- Implement a new Ajax in the application for read data from the backend
- Change the CSS style
- Edit the countdown seconds
You can find more details here:
Tile - Guide - Neptune Software CommunityHappy coding!